If you are trying to create digital scans of your documents using your mobile device and no matter what, you end up with poor quality or shaky photos of your documents, this handy guide below will help you get the best quality digital scans from your iPhone and iPad.
Scanner Pro is a document scanner app for iPhone and iPad that lets you create high-quality document scans using the incredible cameras on your device. Scanner Pro can also improve the quality of a scan by using built-in filters or by tweaking some settings like brightness & contrast.
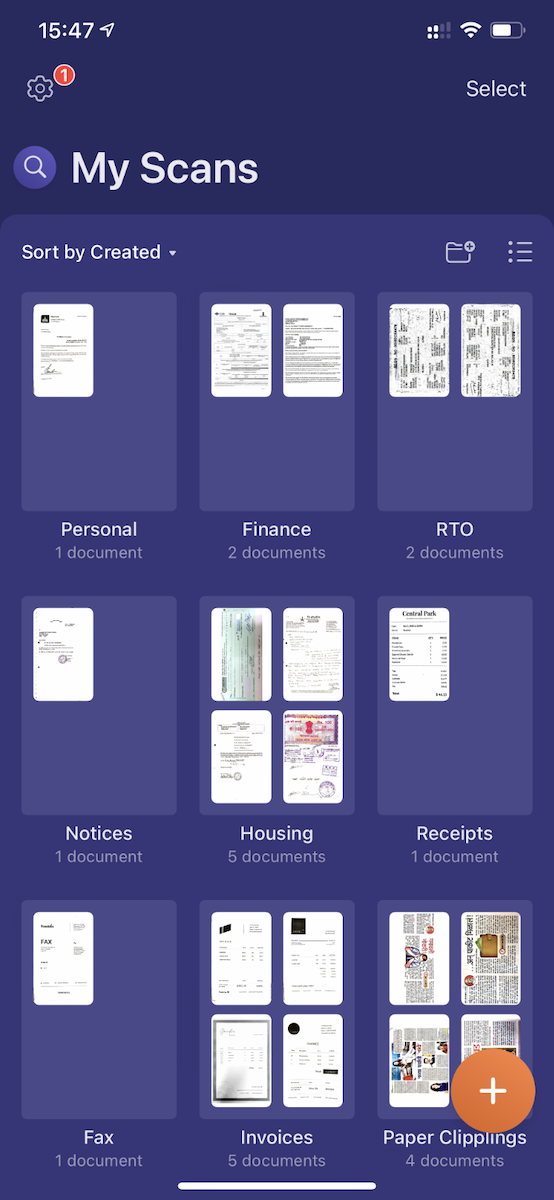
Here’s our guide that will help you learn how to create better scans & improve the quality of existing scanned documents on iPhone and iPad using Scanner Pro.
Let’s say that you have taken a photo of an important document without using a scanner app for iOS such as Scanner Pro. You now need to turn this photo into a scanned document and improve its quality. Here’s how easy it is to improve the quality of scans on your iPhones & iPad.
How to Improve Quality of Scans with iPhone & iPad:
- Download Scanner Pro and launch the app.
- Tap the orange + button to start a new Scan.
- Tap on the gallery icon at the bottom right and choose any existing photo of a document from your Photos/Camera Roll, then tap on Add at the top right.
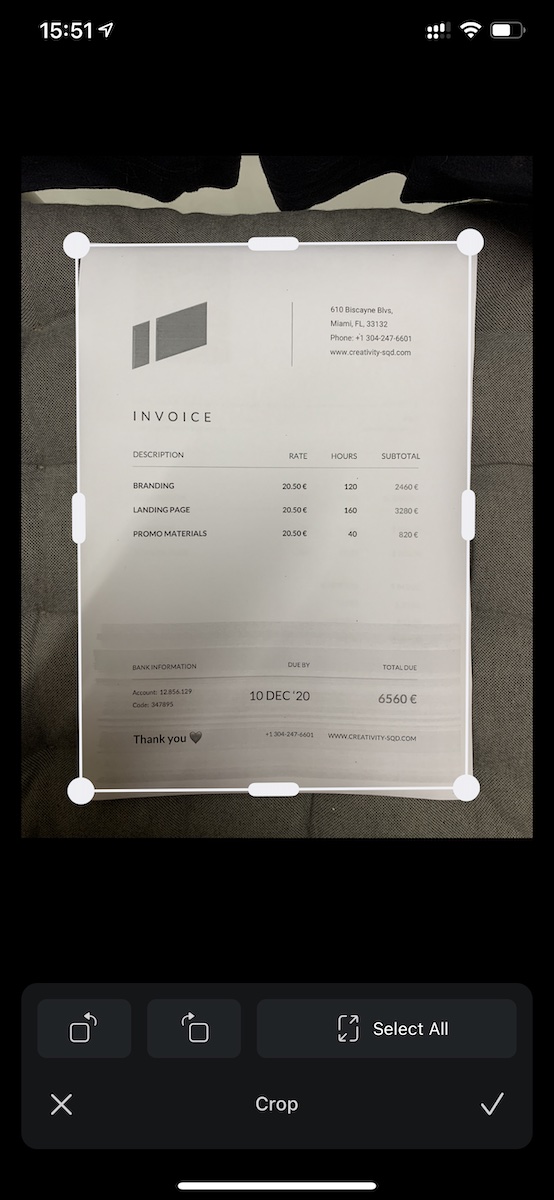
- Tap on the Edit option at the bottom, then on the Crop icon to refine the borders.
- After you have adjusted the borders correctly, tap on the Checkmark icon.
- Tap on the Filters icon and choose the type of processing filter that works the best with your document. If your photo has shadows on it, usually caused by harsh lighting, you can remove them using the Black & White Document or Color Document filters. Here’s a guide that explains how to improve old scans by using Scanner Pro’s Shadow Removal feature.

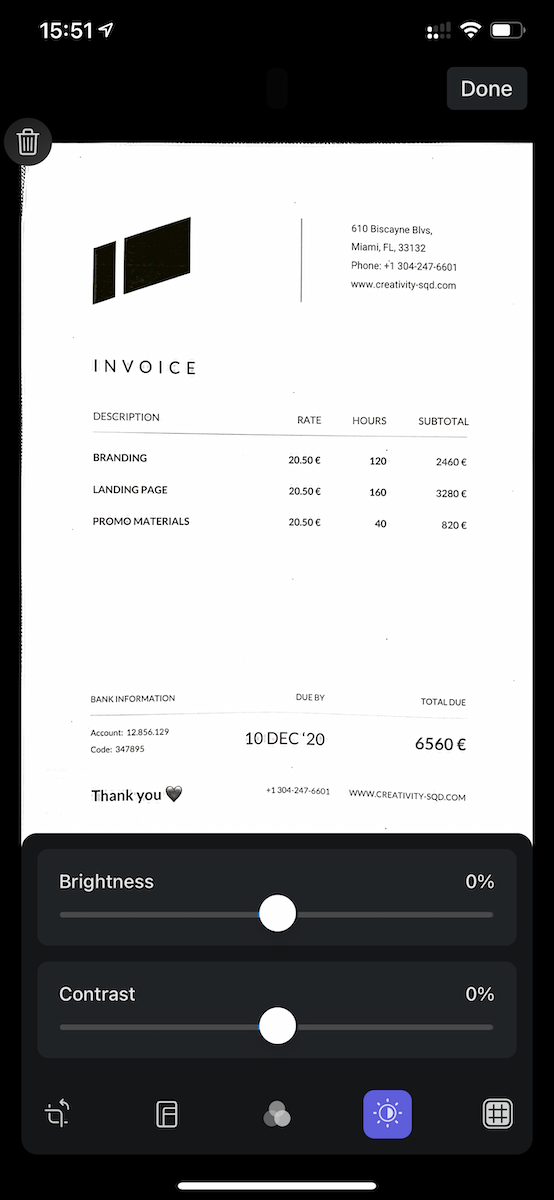
- Tap on the Brightness icon to adjust the brightness and contrast settings on the document if required.
- Customize the document paper size if needed and tap Done.
You can use any of the settings and tweaks available in Scanner Pro to improve the quality of your scans.
How to Take Better Scans with iPhone & iPad:
In many cases, you can ensure that you end up with high-quality scans by following these simple tips:
- When taking a photo to scan the document with your iPhone, hold your hand as steady as possible. Ideally, hold your breath while doing so, so that you get a sharper image and thus, a higher quality scan.
- Place the document flat on a surface and take a photo directly from the top.
- To facilitate optimum edge detection, place your document on a contrasting background. For example, if you are trying to scan a white paper document, don’t place it on a white bedsheet to create the scan.
- Position the camera such that your document covers the maximum area in view. Avoid leaving space around the edges of your document, but also don’t get too close to it.
- In Auto-capture mode, Scanner Pro automatically takes a photo of your document when it senses ideal settings. In manual mode, you can press the round shutter button to take a photo.
With these tips in mind, you will be able to create high-quality digital scans of your documents in minutes using Scanner Pro for iPhone and iPad.
Get Scanner Pro and switch to the best scanner app for iPhone and iPad.

Take high-quality scans
Easily turn papers into PDFs with your iPhone and iPad. Scan receipts, books, IDs, invoices.