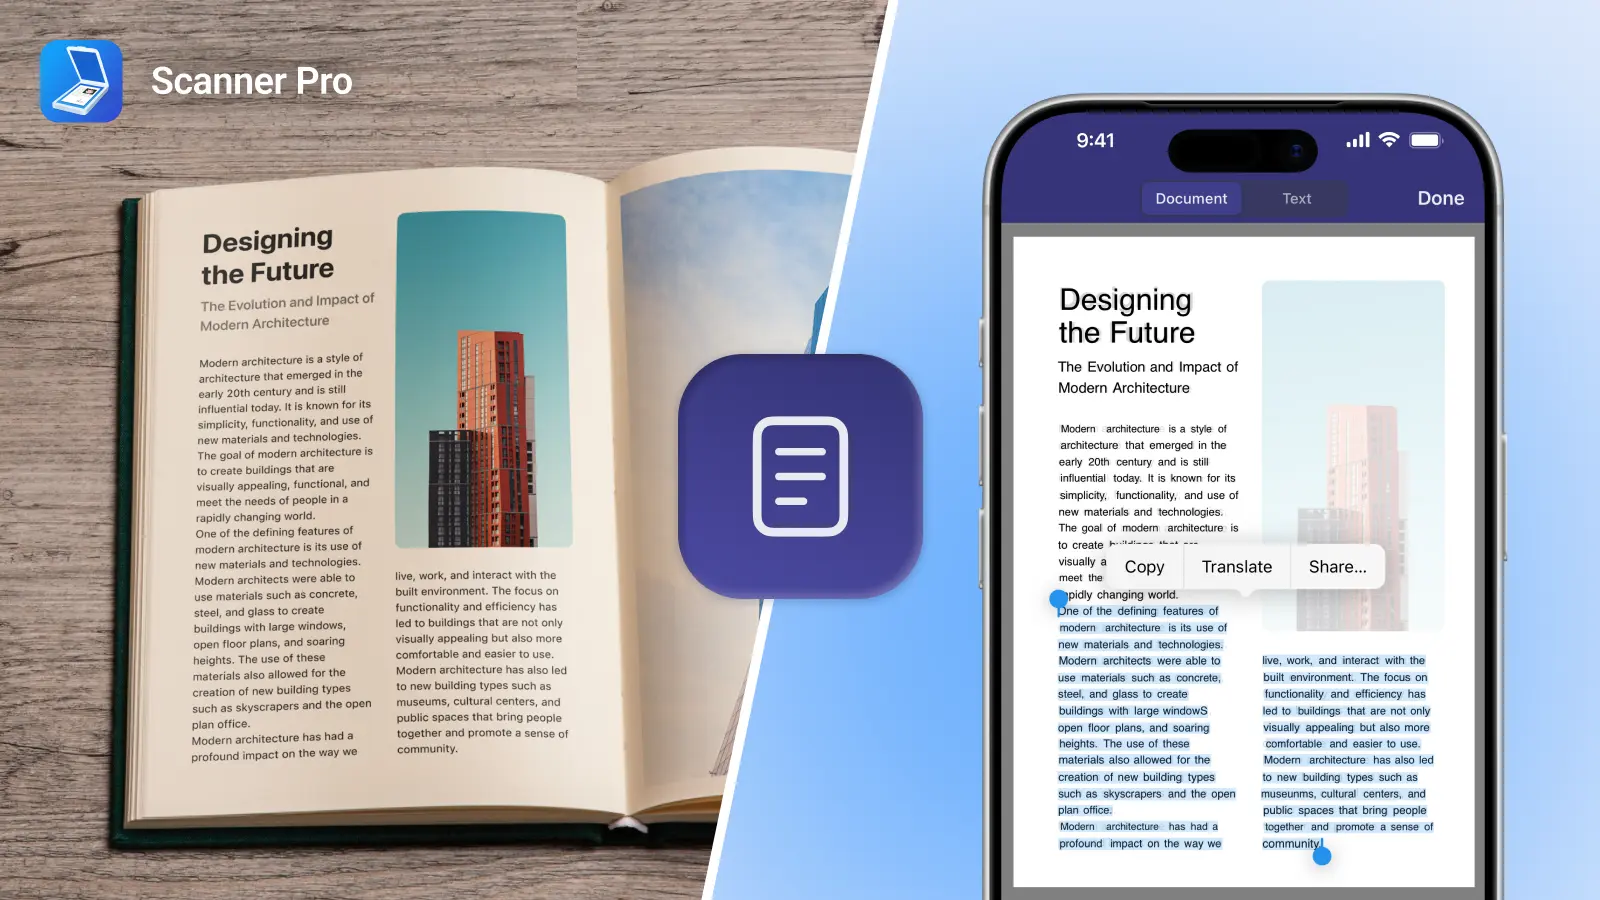
Most people need a digital copy of their ID at some point — submitting a rental application, verifying identity for a new job, opening a bank account, or applying for a service online. Taking a photo with your camera app usually isn't enough: the edges are crooked, the lighting is uneven, and the file isn't in PDF format.
Scanner Pro scans ID cards and documents directly from your iPhone or iPad camera, automatically detects the edges, corrects the perspective, and saves the result as a clean, high-quality PDF. All processing happens on your device — nothing is uploaded to the cloud unless you choose to.
What you can do with scanned IDs:
- Submit clean PDF copies for job applications, apartment rentals, or account verification
- Store a passport scan securely for travel emergencies
- Keep front-and-back ID scans as a single two-page PDF
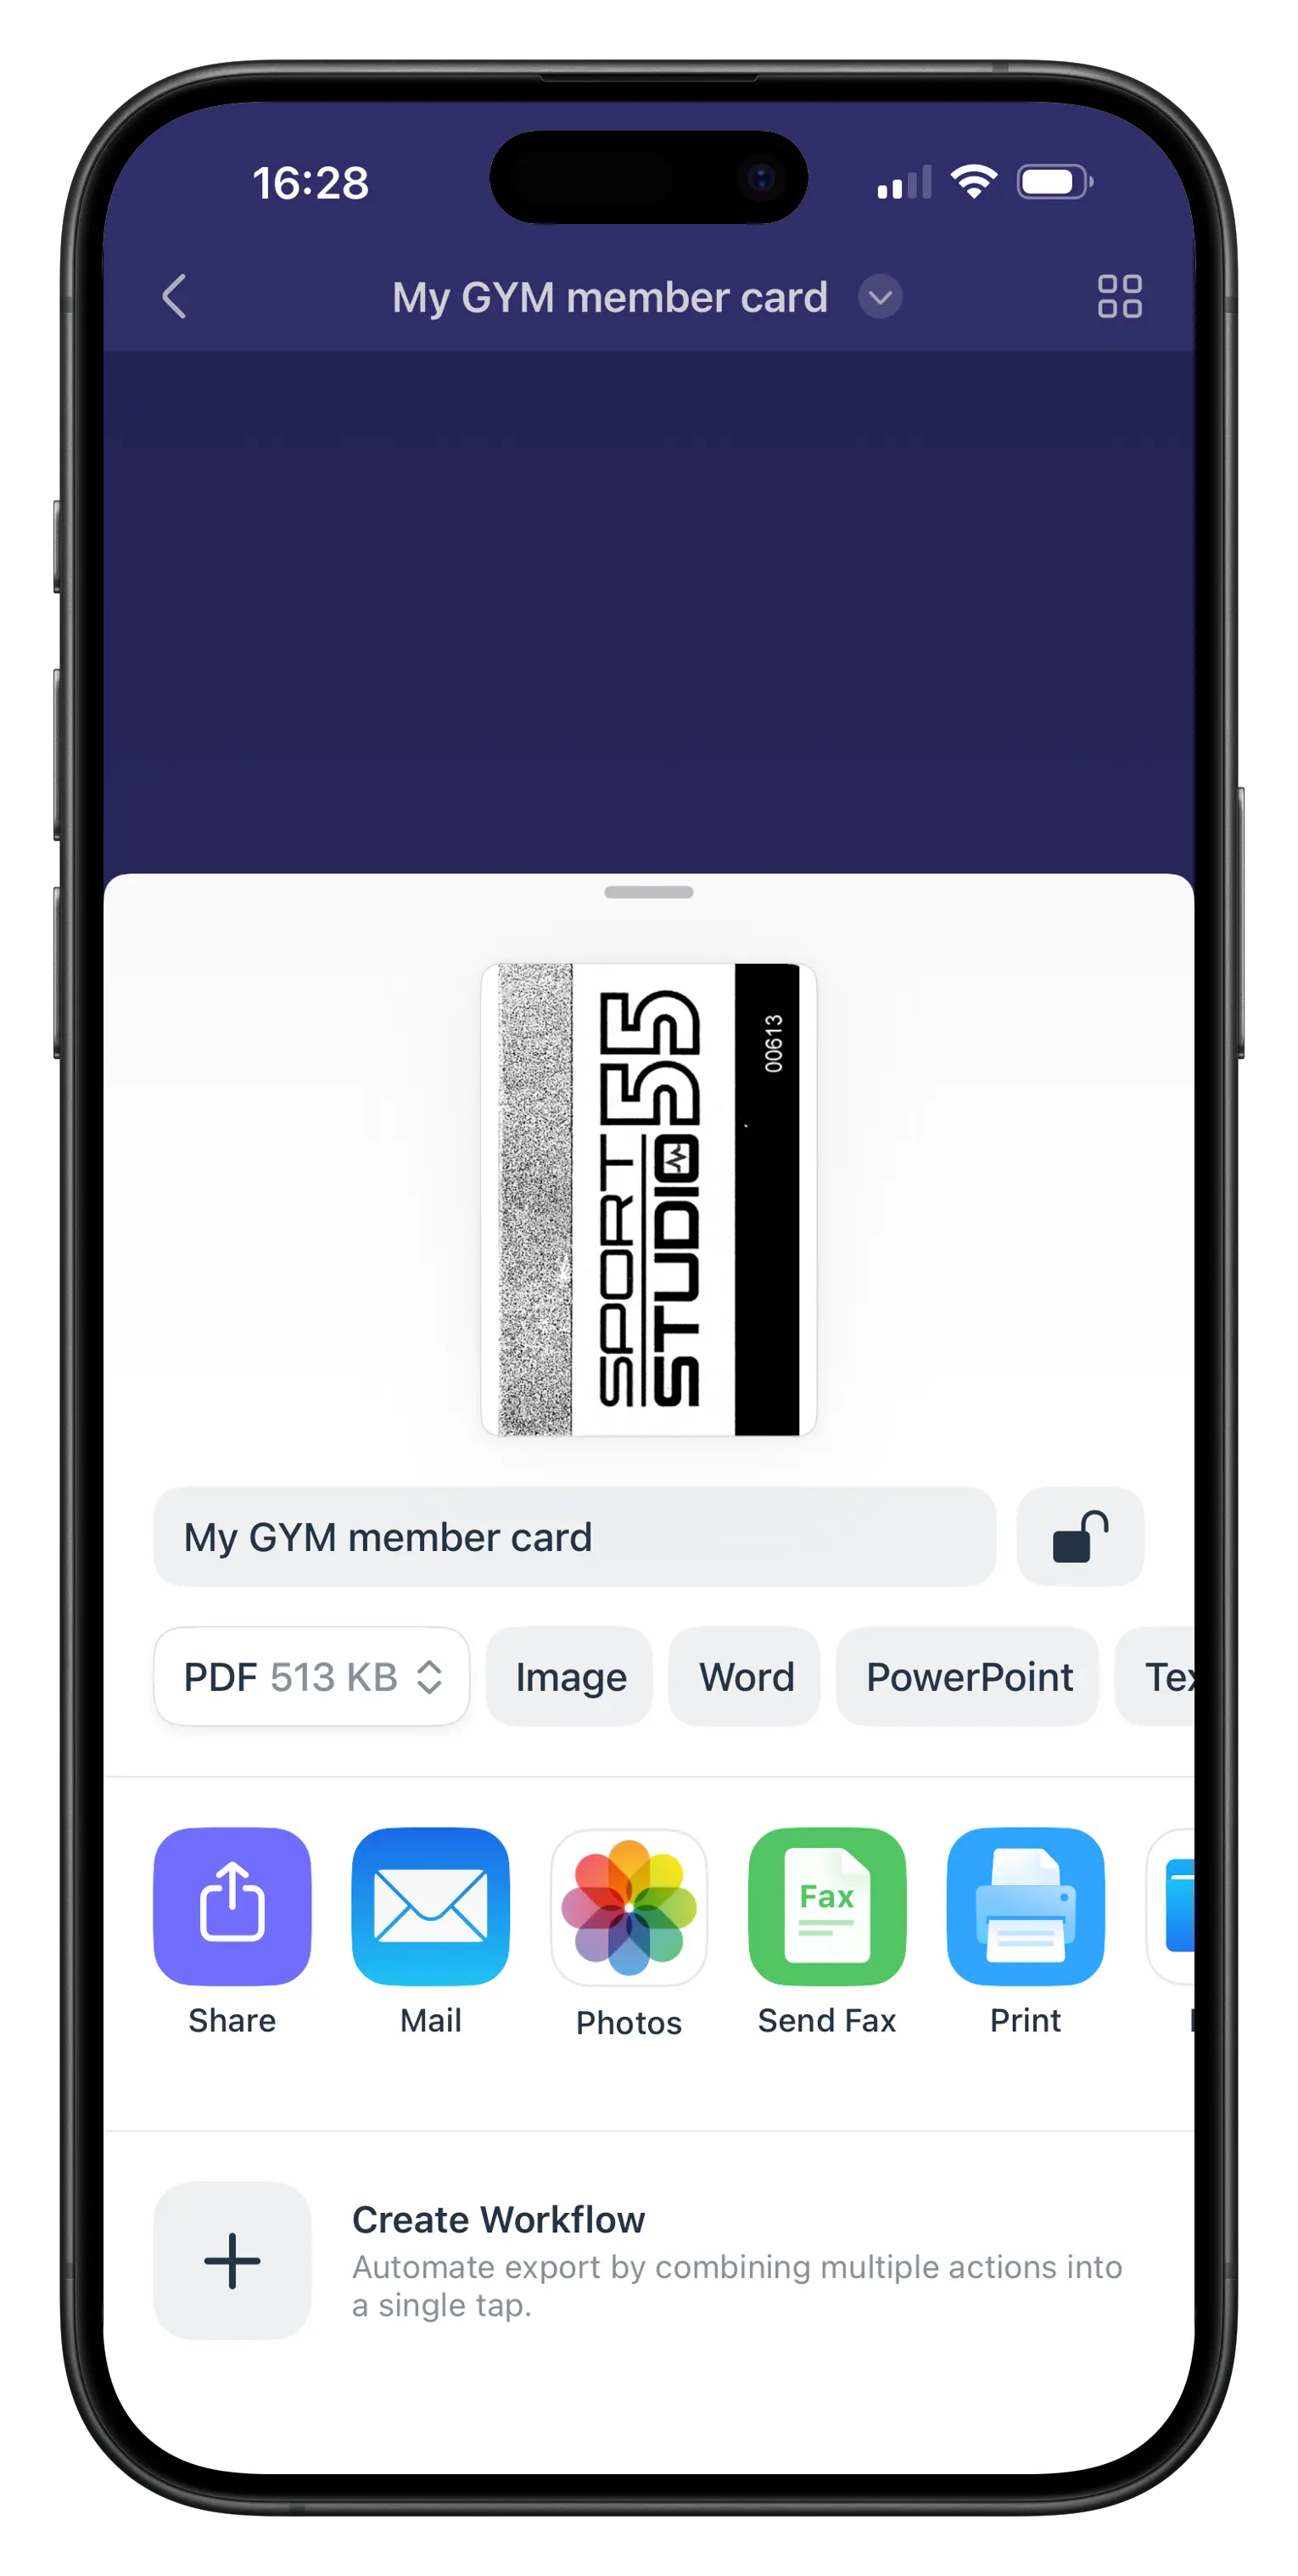
- Share via email, cloud storage, or a link directly from the Scanner Pro
This guide is useful for remote workers submitting onboarding documents, anyone applying for housing, and anyone who has ever had to photograph an ID five times trying to get a usable image.
How to scan an ID card with Scanner Pro
Step 1: Set up your ID for scanning
Place your ID on a flat surface with a contrasting background — a dark desk works well for a white or light-colored card. Make sure the full card is visible with no shadows crossing the text. Good lighting makes a significant difference in text clarity.
Step 2: Open Scanner Pro and start a new scan
Tap the orange camera button at the bottom of the screen. Scanner Pro's camera opens in scanning mode. Hold your phone directly above the ID so the entire card fits within the viewfinder.
Step 3: Let auto-capture do the work
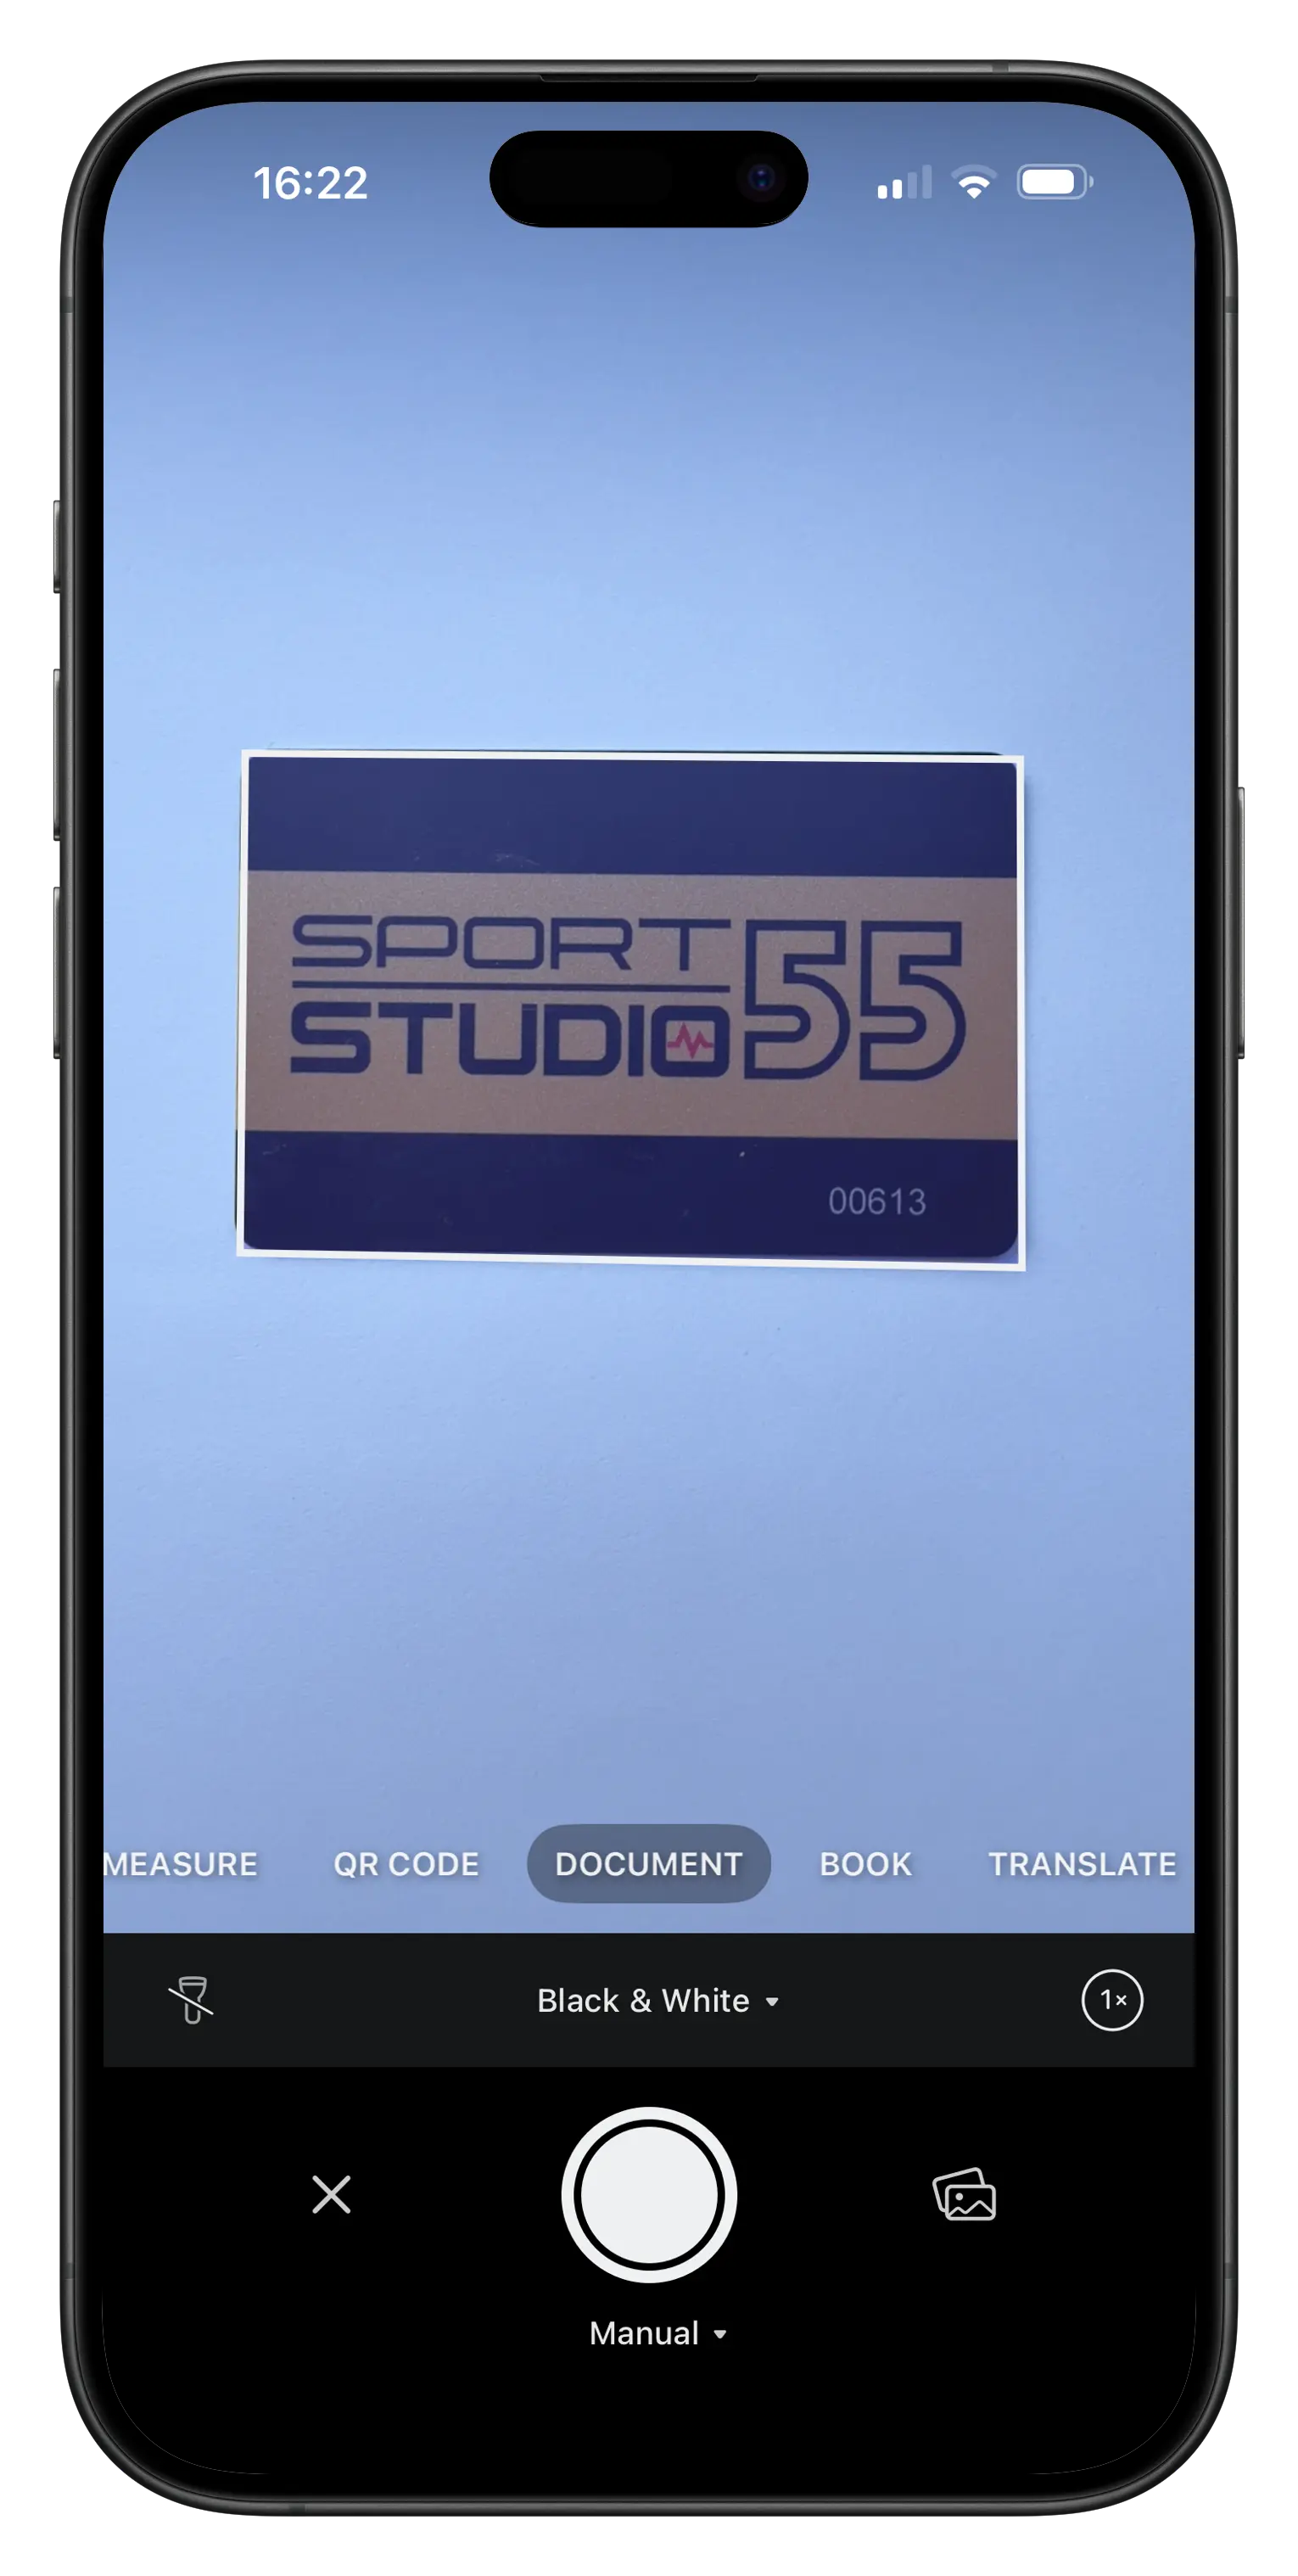
Scanner Pro detects the edges of your ID automatically at 30 frames per second using machine learning-based edge detection. When the card is in focus and properly framed, the app captures the scan automatically. If you prefer to control the timing, tap the shutter button manually.
Step 4: Review and adjust the crop
After capture, you'll see the scanned image with crop handles. Drag the corners if you need to fine-tune the boundary. You can also rotate the image using the rotate controls in this view. Tap the checkmark when you're done.
Step 5: Scan the back side (if needed)
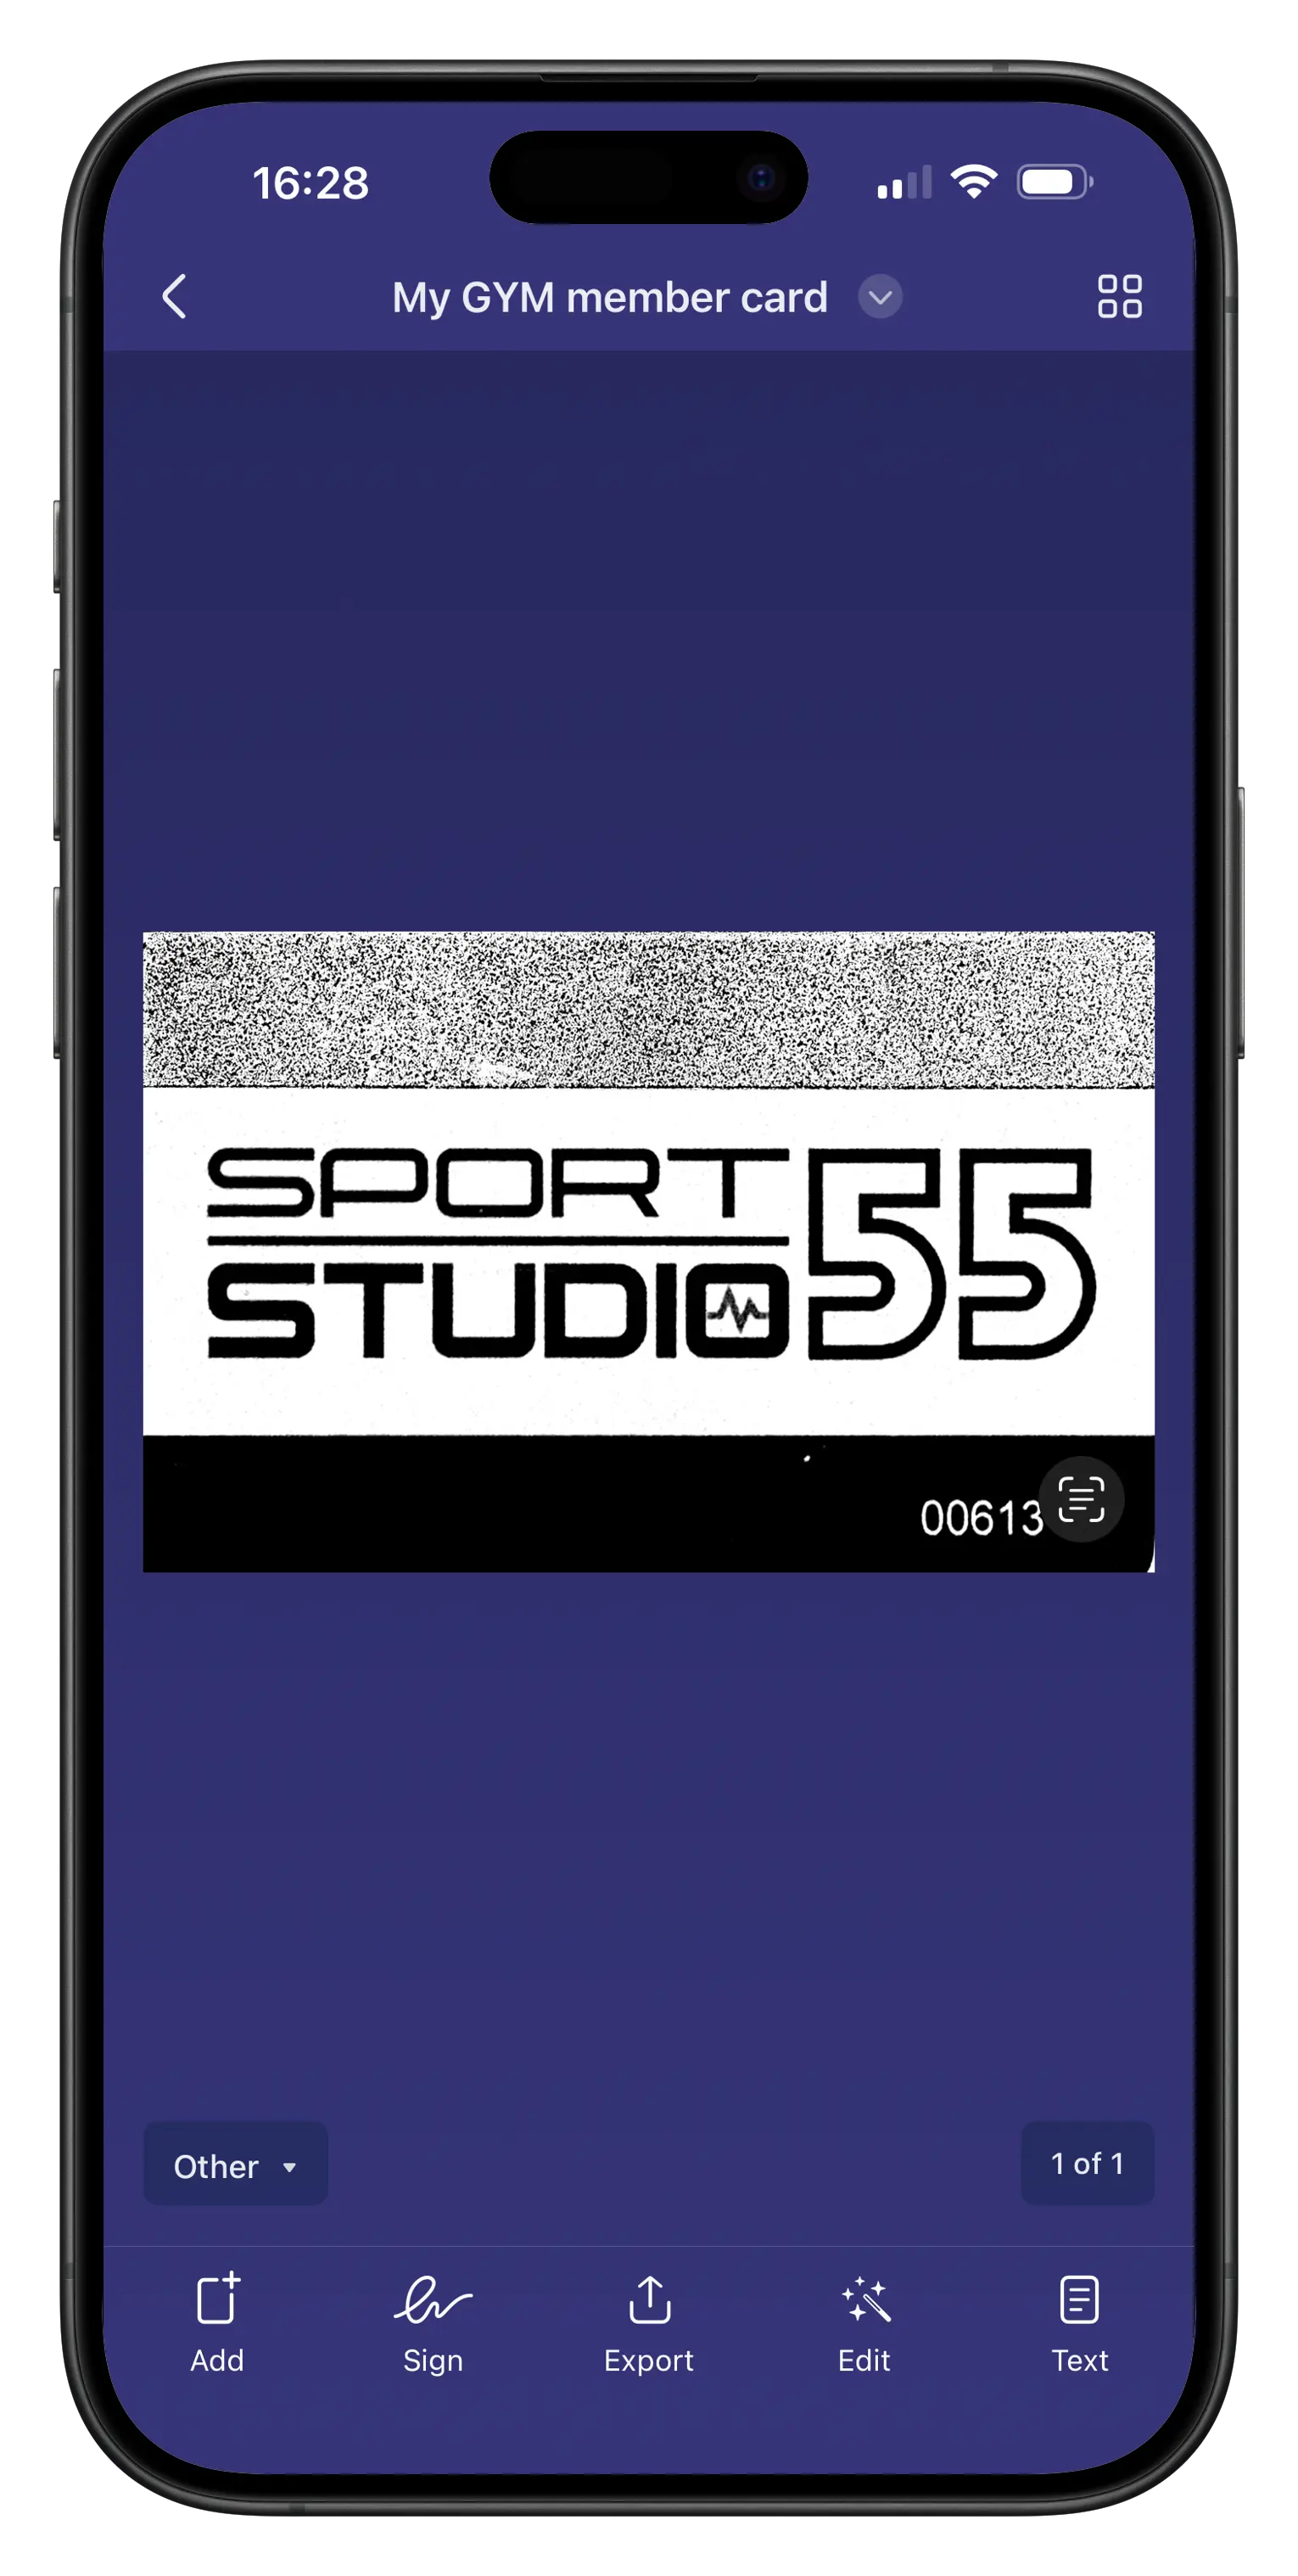
Most ID cards require both sides. After confirming the first scan, you don't need to tap the "+" button to add another page to the scan. Once you've edited the borders for the first scan and tapped the checkmark, Scanner Pro immediately switches back to the camera, and the back of the ID card can be scanned right away. Both pages are saved in the same document as a single multi-page PDF — no need to merge files afterwards.
Step 6: Name and save
Scanner Pro gives the document an automatic name. Tap the title to rename it before saving — something like "Passport Scan 2026" or "Driver's License — Front and Back" makes it easy to find later.
Why Scan Quality Matters for ID Submissions
Blurry or poorly cropped ID scans get rejected. Services that verify identity — landlords, HR departments, banks — need to read the document number, expiration date, and photo clearly.
Scanner Pro's automatic color detection (introduced in version 8.31) decides whether each page is best saved in color or black-and-white based on the content. For photo IDs, it typically selects color. For text-heavy documents like address proofs or tax forms, black-and-white often produces sharper, more readable results.
The improved color scanning algorithm (version 8.34, March 2026) also reduces deep shadows while preserving original tones — useful when scanning passports or embossed ID cards where shadows tend to obscure printed details.
If your scan has unwanted marks, the Magic Eraser tool lets you remove shadows, fingerprints, or stray marks from the image before saving. Open the scan, tap Edit, then tap the eraser icon and rub over the area you want to remove.
Note: Magic Eraser requires a Scanner Pro Plus subscription.
Storing and organizing your ID documents
Create a dedicated folder
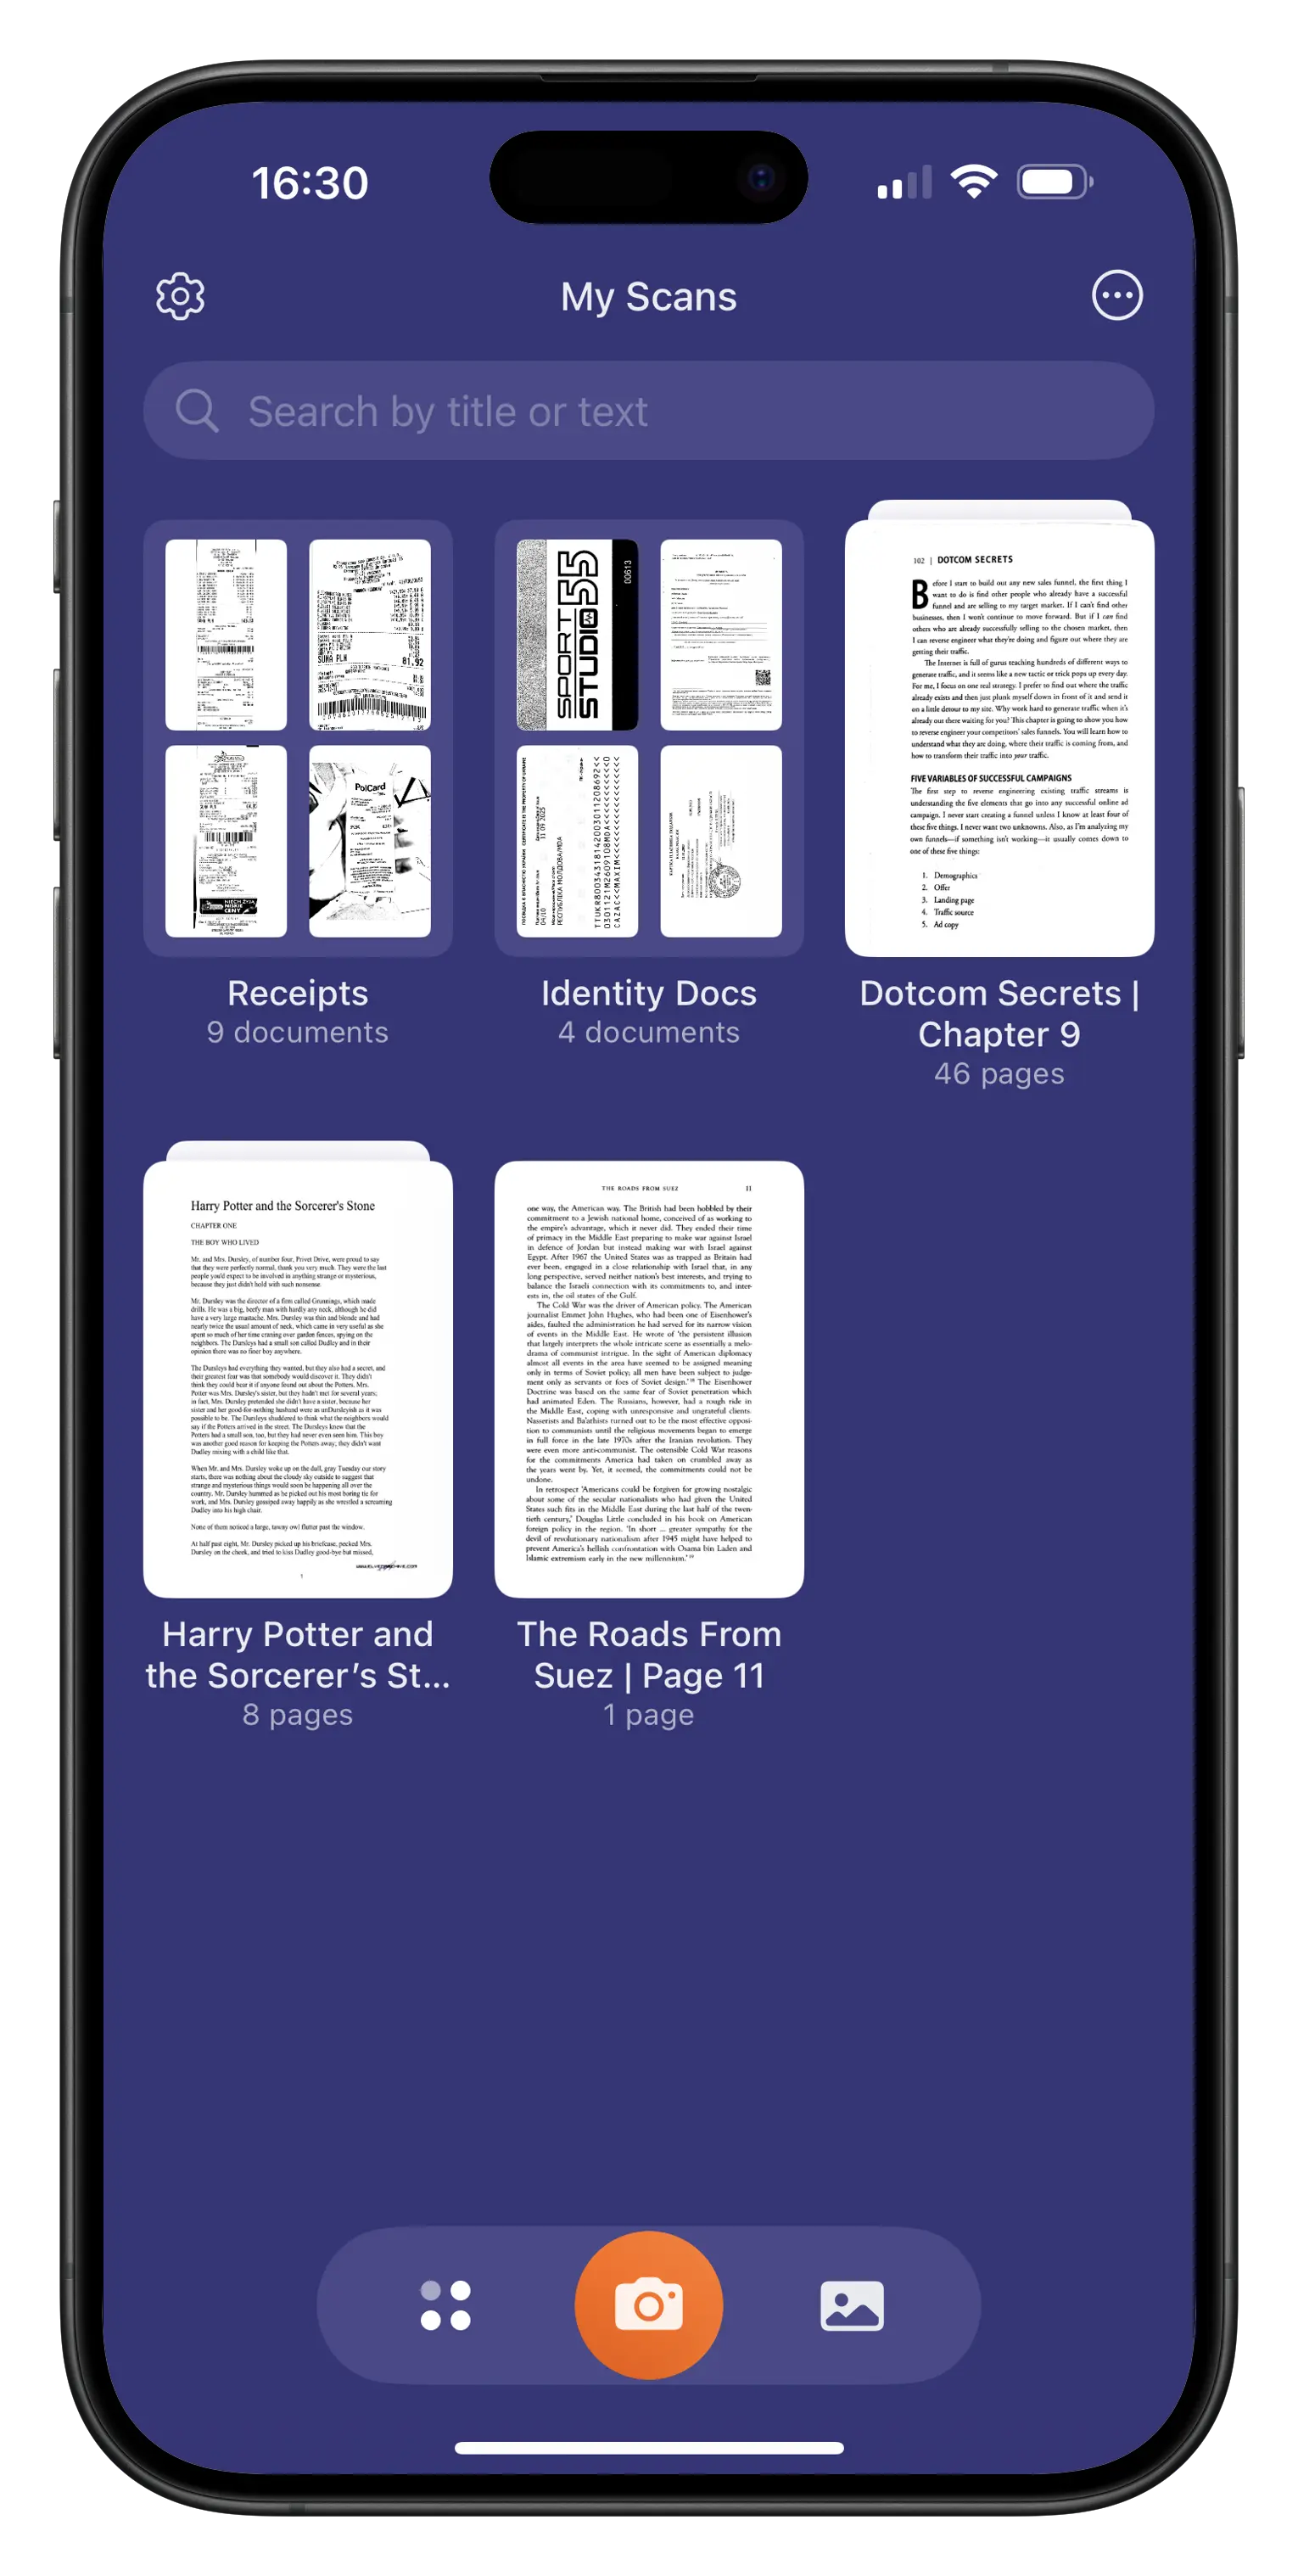
Keeping ID documents together makes them easy to find when you need them quickly. In Scanner Pro, you can create a new folder in two ways: tap the three dots icon in the top right corner of the My Scans screen and select "New Folder," or open the Tools bar by tapping the icon to the right of the orange camera button and select "Folder." Name it something like "Identity Documents" or "Travel Docs" and move your scans into it.
Password-protect sensitive scans
For documents you want to keep private on a shared device, Scanner Pro lets you add a password when exporting. Tap Export, then enable password protection before saving or sharing the PDF.
Note: Password protection requires a Scanner Pro Plus subscription.
Back up to cloud storage
Scanner Pro connects to iCloud Drive, Google Drive, OneDrive, OneNote, Evernote, Dropbox, Box and WebDAV servers. You can manually upload an ID scan to any of these after export, or set up auto-upload (Scanner Pro Plus) to back up new scans to a specific folder automatically.
A Note on Privacy
Scanner Pro processes all scans on your device. OCR text recognition, edge detection, color analysis, and shadow removal all run locally — no document data is sent to Readdle's servers or any third-party cloud unless you explicitly share or upload it.
This matters for identity documents. Scanned passports, driver's licenses, and national ID cards contain data that you don't want passing through external servers unnecessarily. On-device processing means you stay in control.
Tips for Better ID Scans
Use a dark background. Light-colored IDs on a white table are harder for edge detection to isolate cleanly. A dark cloth or desk surface gives the algorithm a clear boundary to work with.
Avoid direct overhead lighting. Overhead light sources create glare on laminated cards. Natural side lighting, or a lamp at an angle, reduces reflections.
Scan in color for photo IDs. Black-and-white mode can make photos on ID cards harder to read. Scanner Pro's Auto Color Detection handles this automatically, but if you've manually set black-and-white, switch it back for photo IDs.
Check the result before closing. Zoom in on the scanned text to confirm it's legible before saving. It's faster to re-scan immediately than to realize the image is blurry after you've already tried to submit it.
Add a verification note for shared copies. When submitting an ID scan for a specific purpose, consider adding a note to the exported PDF — for example, stating the purpose and date. This is standard practice for identity verification submissions and helps prevent misuse if the document is seen by multiple people. You can add text annotations in PDF Expert (available separately) or you can add annotations directly in Scanner Pro. To do that, just open Scanner Pro, tap the scan you'd like to annotate, tap the scan's name at the top and select "Add Annotations" in the list.
Frequently Asked Questions
How do I scan an ID on iPhone?
Open Scanner Pro, tap the orange camera button, and hold your phone above your ID. The app detects the edges and captures the scan automatically. Tap the shutter button manually if you prefer.
Can I scan both sides of an ID card in one document?
You don't need to tap the "+" button to add another page to the scan. Once you've edited the borders for the first scan and tapped the checkmark, Scanner Pro immediately switches back to the camera, and the back of the ID card can be scanned right away.
Alternatively, if the document has already been saved and you want to add another page, you can:
- 1. Open Scanner Pro.
- 2. Tap the scan to which you want to add another page.
- 3. Tap "Add" in the bottom menu to open the camera.
Does scanning an ID upload my data anywhere?
Not by default. Scanner Pro processes everything on your device. Nothing is sent to Readdle or any external server unless you manually share or upload the scan.
What format does Scanner Pro save ID scans in?
PDFs by default, which is the format most ID submission systems require. You can also export as JPEG if a service specifically requests an image file. In addition to PDF and JPEG formats, we also offer TXT formats. Word and PowerPoint formats are available with a Plus subscription.
Is Scanner Pro free to use for ID scanning?
Basic scanning is free. The free version adds a watermark to exported scans. To get watermark-free exports, you need a Scanner Pro Plus subscription.
How do I keep my ID scans private?
Store them in a folder in Scanner Pro. For extra protection, use password-protected export (Scanner Pro Plus) before saving to your Files app or sharing with anyone.
Can I scan a passport with Scanner Pro?
Yes. Passports are slightly thicker than flat cards. Lay the passport open to the photo page on a flat surface and scan the same way. The edge detection works for booklet-style documents as well as cards.
What iOS version do I need?
Scanner Pro requires iOS/iPadOS 18.0.
Related Features
- How to create a multi-page scan in Scanner Pro
- How to password-protect scans when exporting
- How to use the eraser tool to clean up scans
- How to connect cloud storage to Scanner Pro
- How to export and share scans
Scanner Pro is free to download on iPhone, iPad, and Apple Vision Pro (iOS/iPadOS 18.0 and later. Apple Vision requires visionOS 2.0 and later). Basic scanning, organizing, and sharing are available at no cost. Scanner Pro Plus unlocks watermark-free exports, password protection, Magic Eraser, and auto-upload to cloud storage.
Download Scanner Pro on the App Store