How to take a screenshot on your iPhone
Learn how to take a snapshot on your iPhone and Save the Screen contents on your iOS device for future reference.
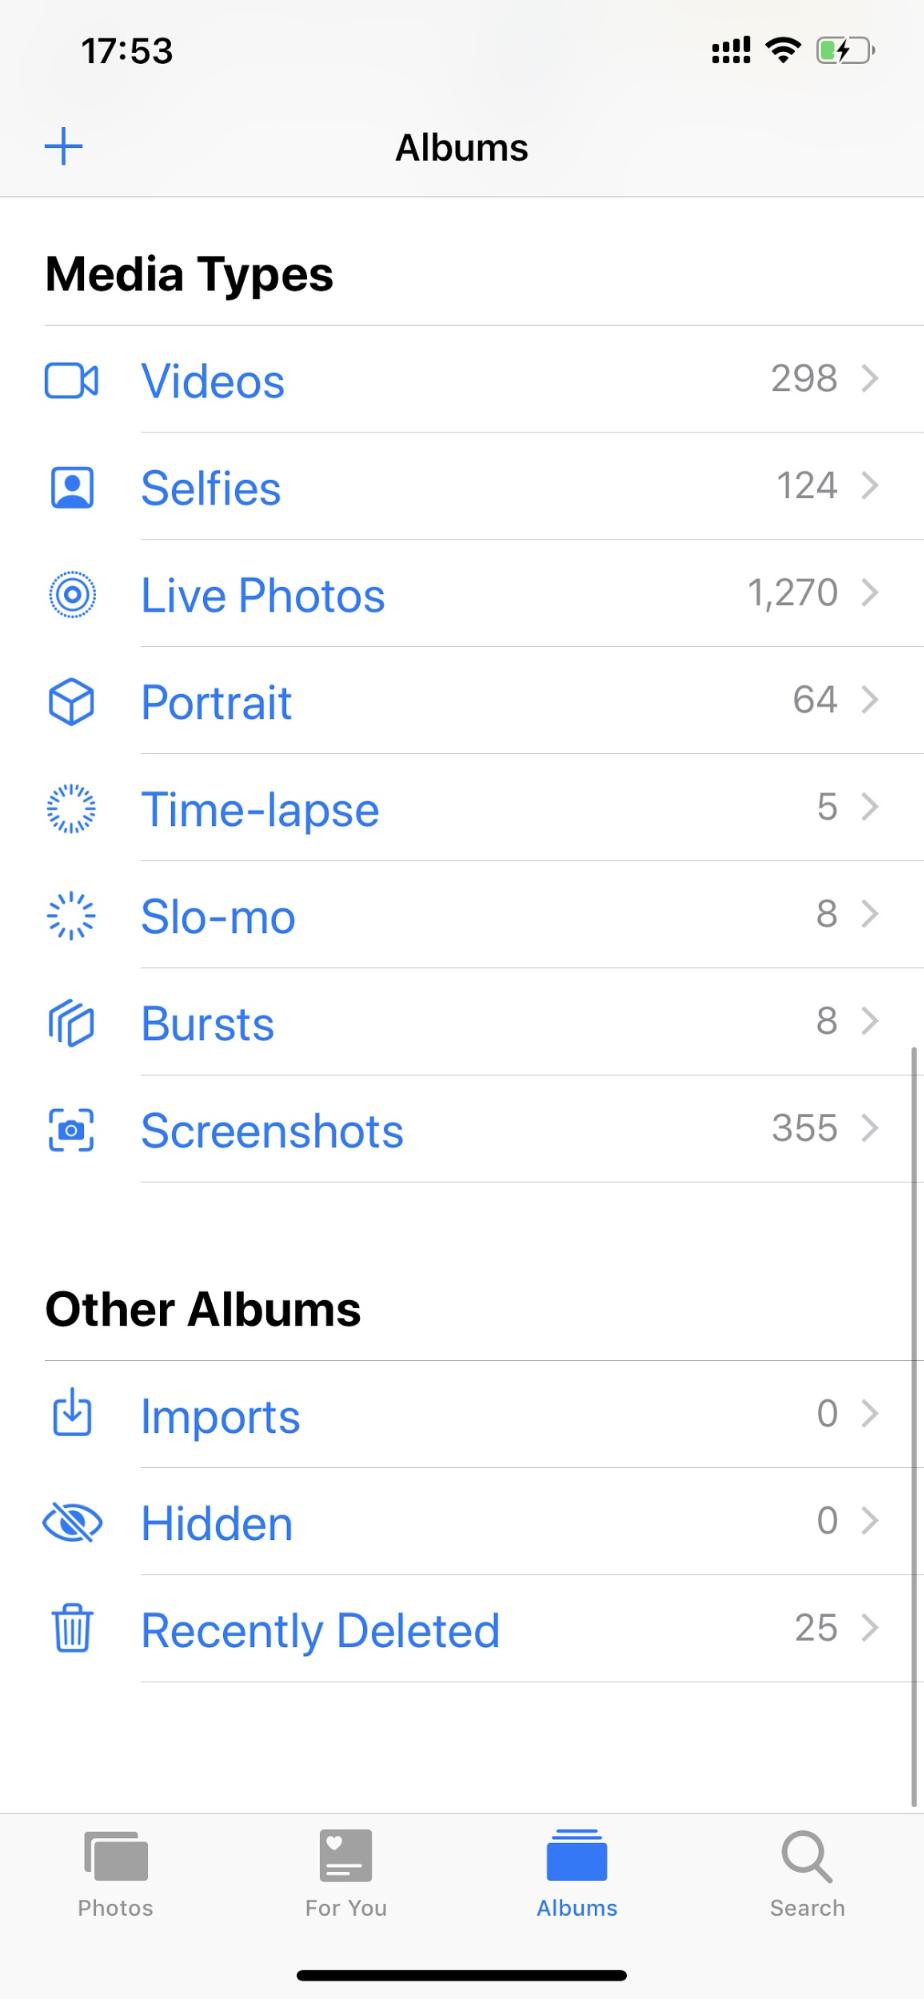
You’d want to take a screenshot on your iPhone or iPad devices for many reasons. It may be to report a bug in an app, it may be to share something on the screen with your friends or family, or it may be to save something on the screen on an iPhone or iPad for future reference. Whatever the case, we all take screenshots on our iOS devices multiple times, so much so that Apple added a whole smart album called ‘Screenshots’ in the default Photos app on iOS.

That said, the process of taking a screenshot on an iPhone or iPad is different depending on which generation of iPhone you have. Let’s take a detailed look at how to take a screenshot on each iPhone device.
How to take a Screenshot on iPhone X, iPhone Xs, and iPhone Xr devices
If you have an iPhone X, iPhone Xs, or iPhone Xs Max, or even an iPhone Xr device, here’s how easy it is to take a snapshot of the screen on your phone.
- Place a finger on the Sleep/Wake button on the right edge of your iPhone
- Place another finger on the Volume Up button on the left edge of your iPhone.
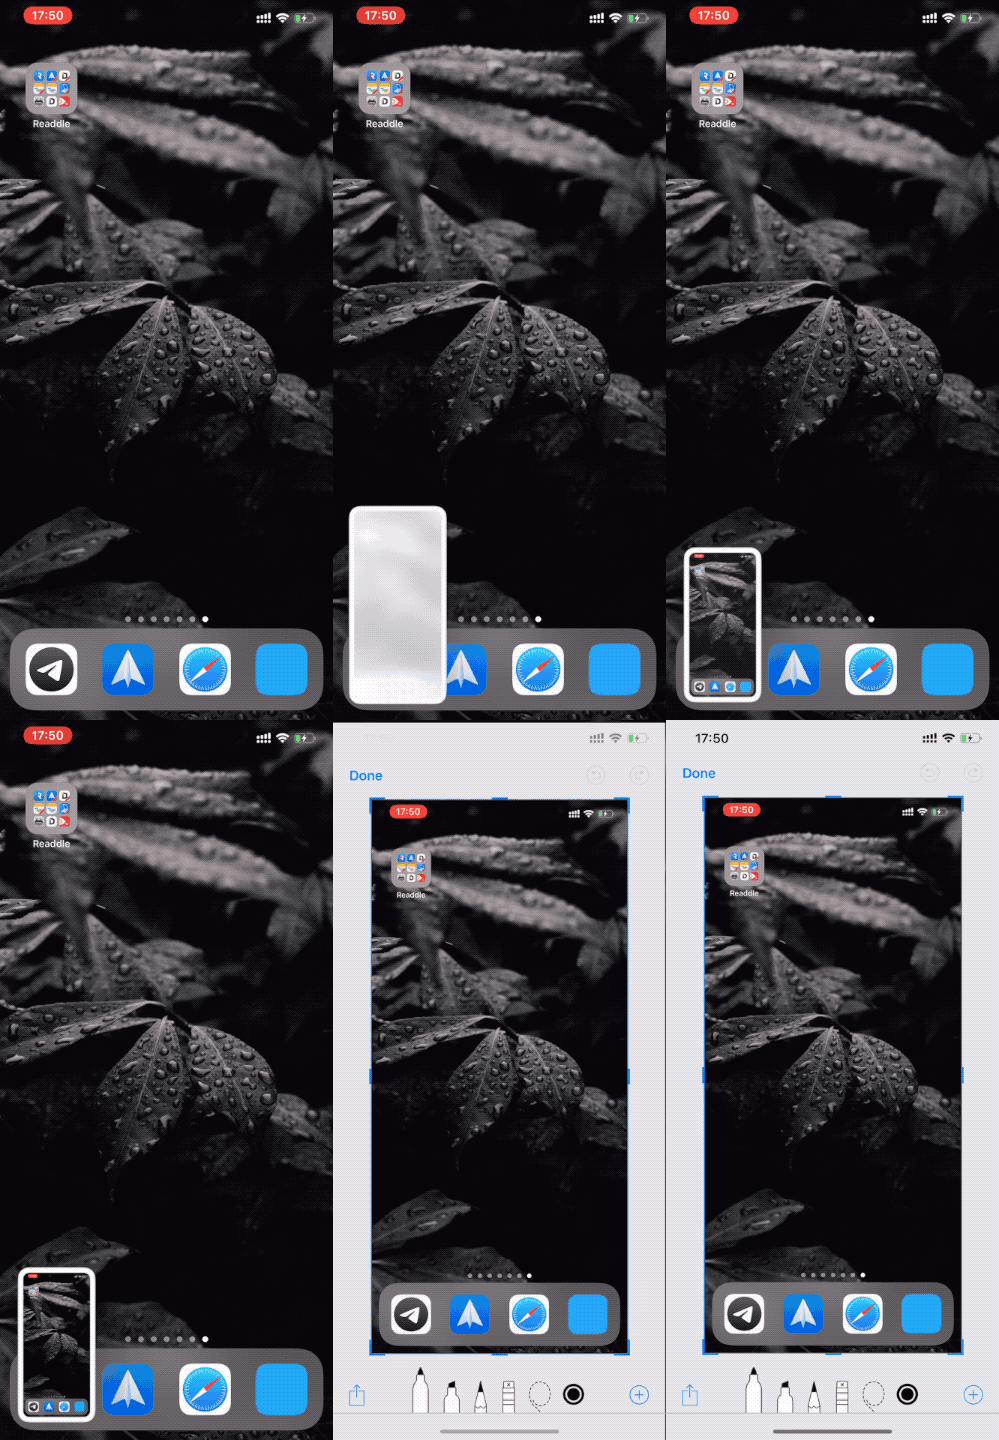
- Simultaneously press both these buttons, and wait till you hear a confirmation sound, and your device screen will flash once briefly.
- If your device is running iOS 11 or later on your device, the screenshot you’ve just taken will shrink down to the bottom of the screen, where you can take any action on it directly, such as sharing it with anyone or cropping it to any size you want.

- If no action is taken, the iPhone X screenshot is automatically saved to the Camera Roll.
How to take a Screenshot on iPhone 5(s), iPhone 6(s), iPhone 7/7 Plus and iPhone 8/8 Plus devices
If your iPhone is from any of the iPhone generations listed above, here’s how to save a copy of your iPhone screen and take a screenshot for future reference. Don’t worry, the process is just as easy as it is on modern iPhones, just with a different set of buttons.
- Place a finger on the Home button at the bottom of the screen.
- Place another finger on the Volume Up button.
- Press both buttons simultaneously, and wait till you hear a confirmation sound and notice the screen flash briefly.
- If your device is running iOS 11 or later on your device, the screenshot you’ve just taken will shrink down to the bottom of the screen, where you can take any action on it directly, such as sharing it with anyone or cropping it to any size you want.
- If no action is taken, the screenshot is automatically saved to the Camera Roll.
- For devices running older versions of iOS, you won’t see a thumbnail preview, but the screenshot is automatically saved to your Camera Roll.


